
Know your finger patterns
In first position, finger patterns change with the placement of the semitones. Ševčík uses these patterns throughout his beginner method. Practise each slowly on all four strings:
- 2 and 3 together: the pattern of A major on the A string, usually learnt first
- 1 and 2 together: C natural on the A string, as in G major on the E string
- 3 and 4 together: the half step at the top of the hand
- Low first finger: the first finger back towards the nut, as for B flat on the A string
Check against the open strings
Use open strings to check your tuning. Compare a fourth-finger note with the next open string (Ševčík op. 6 no. 4). Fingered G, D and A notes can also set the open strings ringing sympathetically when they are in tune.
Keep the fingers down
A finger that stays on the string is a landmark for the next one. Play patterns where the fingers stay down while the others move (Ševčík op. 6 no. 12, Schradieck book 1). The hand keeps its shape and the fingers land in the same place.
Slow scales, long notes
Play a slow scale with one long note per bow. Listen before moving on, adjust any note that is out of tune, then play it again with the correct placement. Gradually add speed and rhythmic variations, as in Hřímalý. Return to a slower tempo whenever accuracy slips.
Use the right reference
On the violin, tuning also depends on context. Two notes played together need to blend, while notes in a melody may be adjusted slightly by ear. Avilo accounts for these differences in its exercises.
Beginners stray about 20 cents in scales on average, professionals about 10 in very slow scales (Pardue and McPherson, 2019; Loosen, 1993). Aim for the tolerance of your level first.
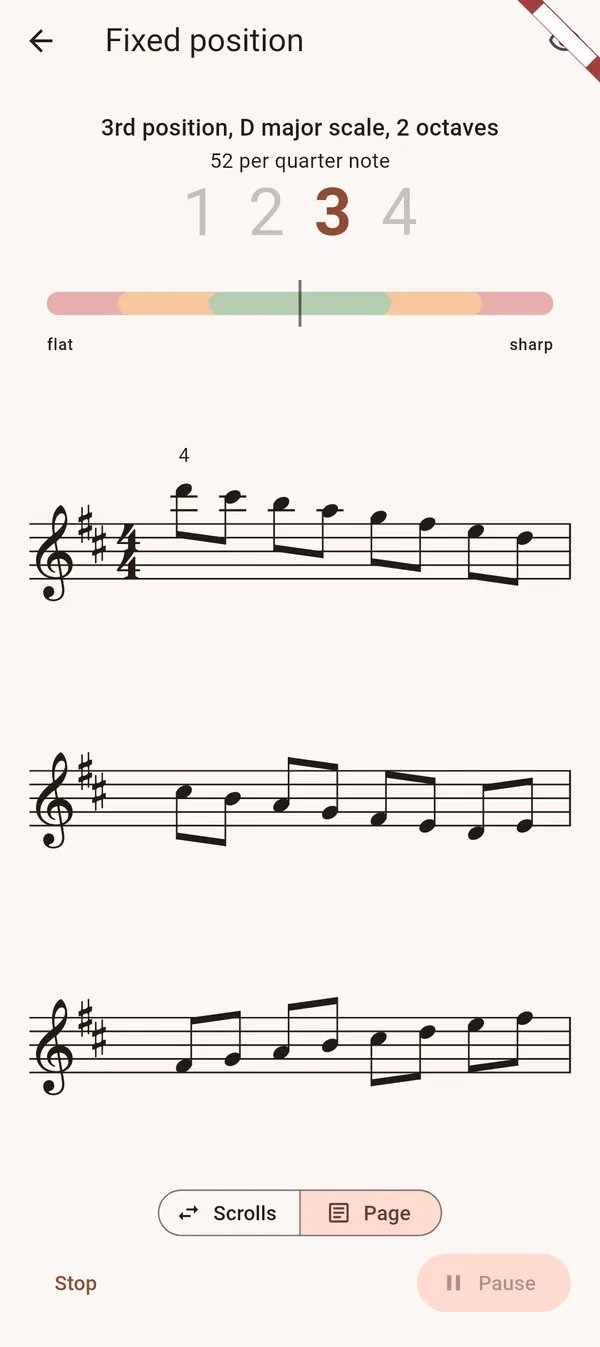
Look less, listen more
Looking at a screen during the note helps to find a placement, but does not train the ear. Look once, then play again without looking. After the set, look at which notes are out of tune, and whether they tend to be sharp or flat.